# Load Iris dataset and ggplot2
library(datasets)
library(ggplot2)
data("iris")

# Plot
plot <- ggplot(iris, aes(x = Sepal.Length, y = Sepal.Width, color = Species)) +
  geom_point(size = 2) +
  geom_smooth() +
  xlab("Sepal Length") +
  ylab("Sepal Width") +
<<<<<<< HEAD
  scale_color_manual(values = c("olivedrab4", "aquamarine4", "burlywood2")) +
=======
  scale_color_manual(values = c("aquamarine", "aquamarine4", "darkcyan")) +
>>>>>>> 266103a4df6f7613c11d8d5b6070d34db3fa9e79
  theme_bw()

plotCollaborate
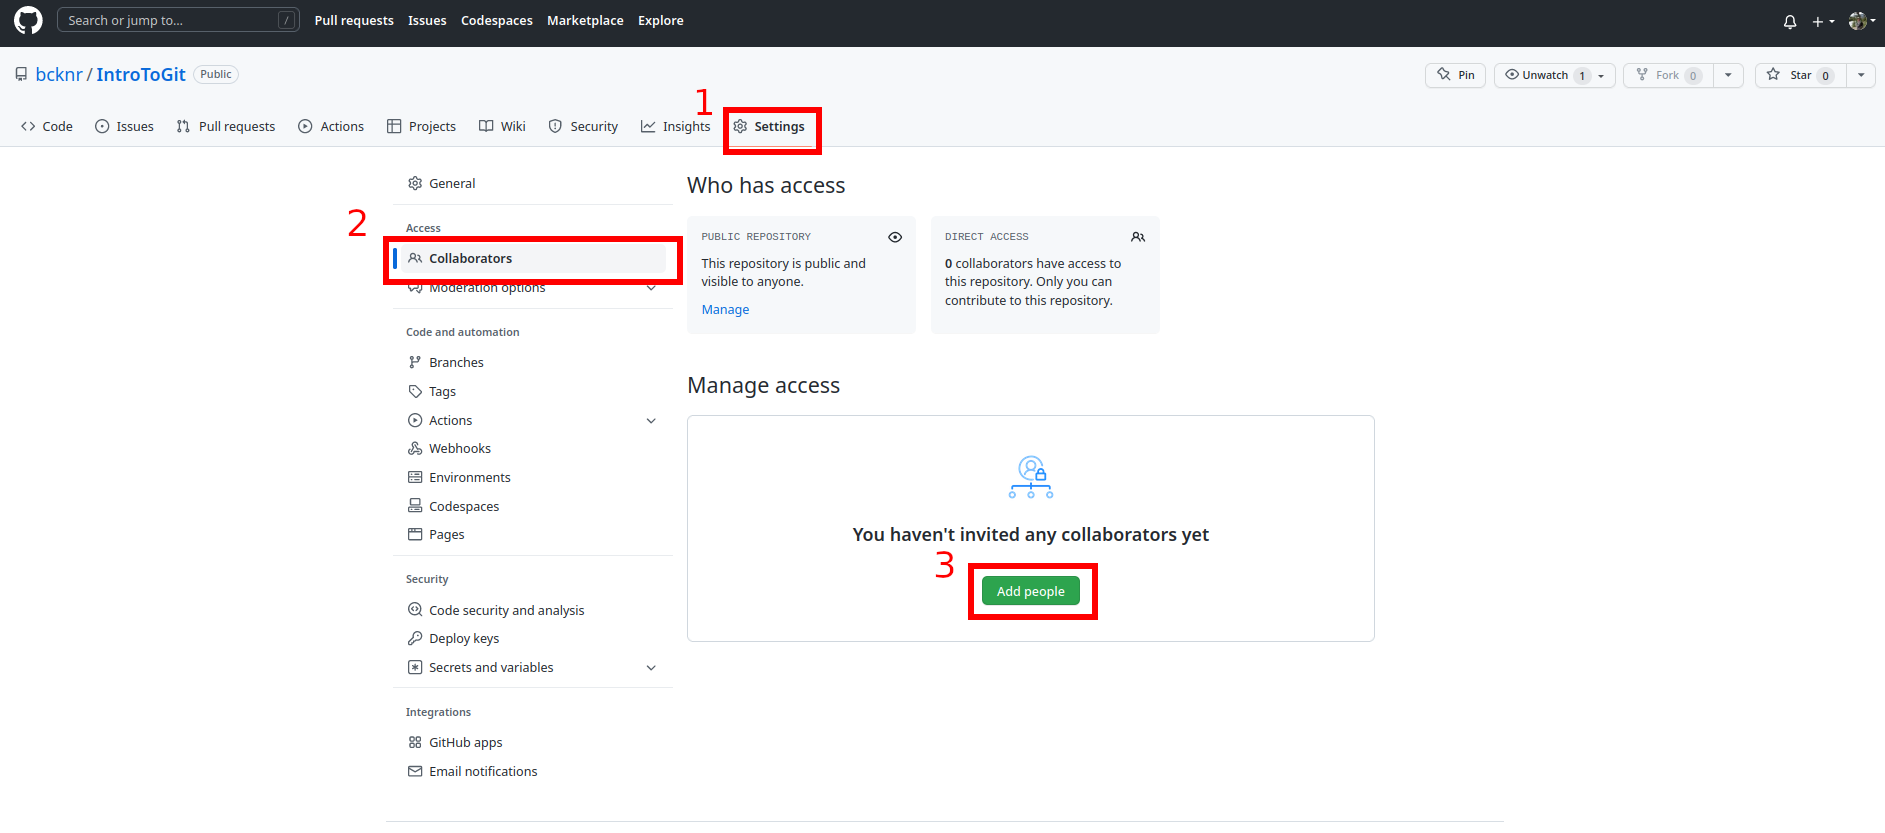
Add a Collaborator
You can add collaborators to a private (or public) repo in GitHub by clicking settings > Collaborators > Add People
If you are doing a lot of collaboration, it will benefit you to learn about branches. These allow you to work collaboratively without always stepping on each other’s toes or work on the part of a project without worrying too much about breaking the whole thing. Once satisfied with how the branch performs, you can merge it with the main branch.
Merging (and merge conflicts)
If you are collaborating with someone else and are both working on the same file, you may need to merge your edits when committing and pushing the file to GitHub. In the best-case scenario, you both edited different lines, and the files can be merged automatically.
If not, you will have to merge the files manually. All this means is that you will need to pick which changes to keep.
Pulling changes with an uncommitted file
If you practice the “pull-stage-commit-push” workflow I’ve promoted up to this point, you’ll hit a snag when you try to pull the new changes if you made edits.

Notice that the error message tells you to commit or “stash” your changes. We won’t cover stashing changes here. So let’s stage and commit our changes before trying again.
Great, there were no errors committing. But what if we try to push our changes?
Pushing changes with a committed file
If there are new changes to the file you are working on GitHub that aren’t reflected in your local repo pushing your changes may result in an error.
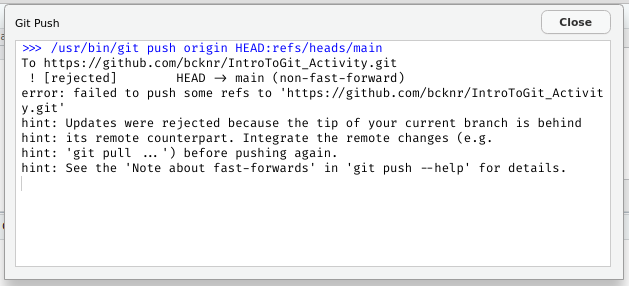
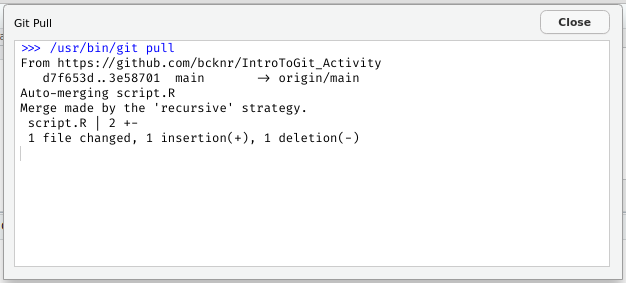
Why? The push to GitHub was rejected because “the tip of my branch is behind.” All this means is that there have been changes to the files since I last successfully pulled. Luckily, you should be able to see from the hints and your Git vocab that all we have to do is “pull” before pushing.
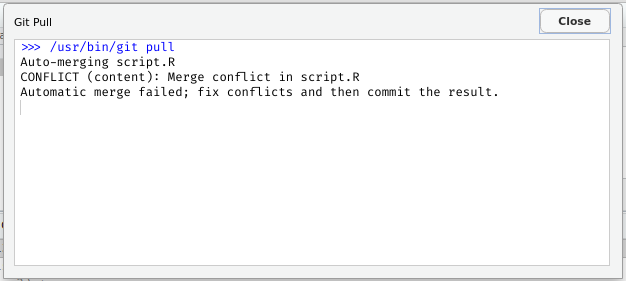
Well, its a step in the right direction, but we still haven’t succeeded in pushing our changes to GitHub. You’ll notice that the automatic merge failed because my collaborator and I edited the same line of code. Let’s resolve the conflict.
Both my collaborator and my changes are now show in the editor. They are bracketed by “version control conflict markers” which are <<<<<<< HEAD and >>>>>>> 266103a4df6f7613c11d8d5b6070d34db3fa9e79. The long string of letters and numbers is just a hash identifying the commit and the ======= separates the two different versions, so I need to either pick one or figure out how to combine them.
In this case my version of a bad color palette is clearly better. So lets delete my collaborators code and all of the conflict markers.
# Load Iris dataset and ggplot2
library(datasets)
library(ggplot2)
data("iris")

# Plot
plot <- ggplot(iris, aes(x = Sepal.Length, y = Sepal.Width, color = Species)) +
  geom_point(size = 2) +
  geom_smooth() +
  xlab("Sepal Length") +
  ylab("Sepal Width") +
  scale_color_manual(values = c("olivedrab4", "aquamarine4", "burlywood2")) +
  theme_bw()

plot
`geom_smooth()` using method = 'loess' and formula = 'y ~ x'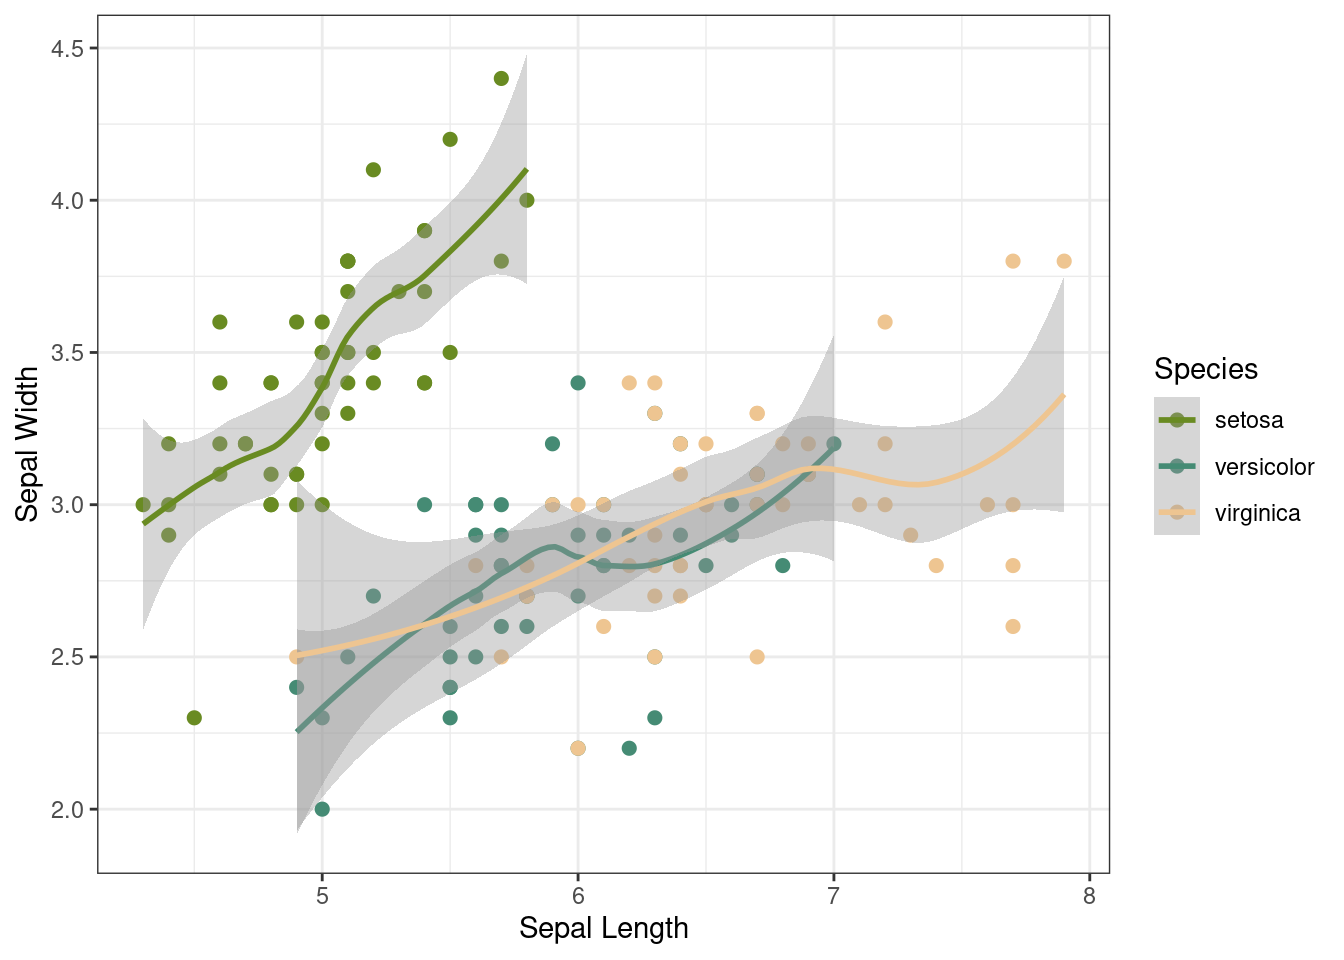
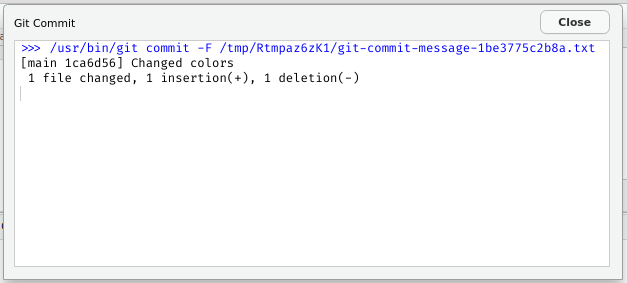
That looks much better. Now that I have resolved the merge conflict, I will commit my changes again, this time adding a commit message explaining the merge and then pushing my changes.
Resolving merge conflicts can be annoying. I highly recommend you learn about branches if you collaborate with others. Branches don’t remove all merge conflicts but allow you to handle them through “Pull Requests” when you have time. Unfortunately, we have a limited time today, so you will have to read up on this on your own.
Forks
GitHub allows you to get a copy of other public repositories. You can clone the repo using the same method as you would for cloning your own or you can “fork and clone.”
Forking has the added benefit of allowing you to suggest changes to the repository owner (called “pull requests”), and enabling you to use the repo as if you created it.
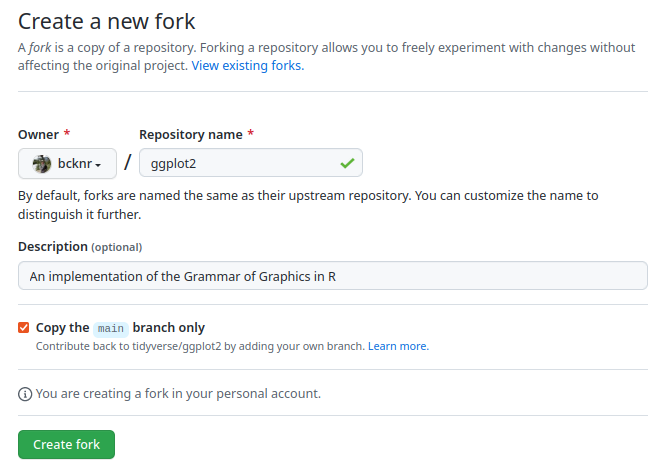
To fork a repo
Click on “Fork” in the top right when on the repo’s main page

Click “Create a new fork”, and
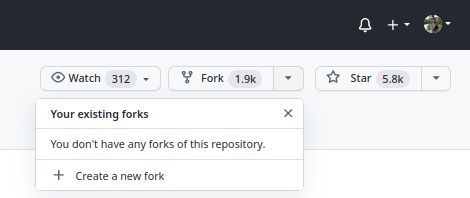
Update the information as you wish before clicking the big green button as usual.